Thursday, August 11, 2011

Im Back

Dear Friends,
My long absence from blogging has now come to a holt.
Forgive me. 
In between moving my Mother, growing a baby, family reunions and road trips, it's time to get back to life as we know it.
So here I am again ready to rock it. Oh yes, be prepared cause I have a giveaway coming up next. Until then enjoy the pictures of my latest happenings and I'll see you soon. Loves! 
Rachel 


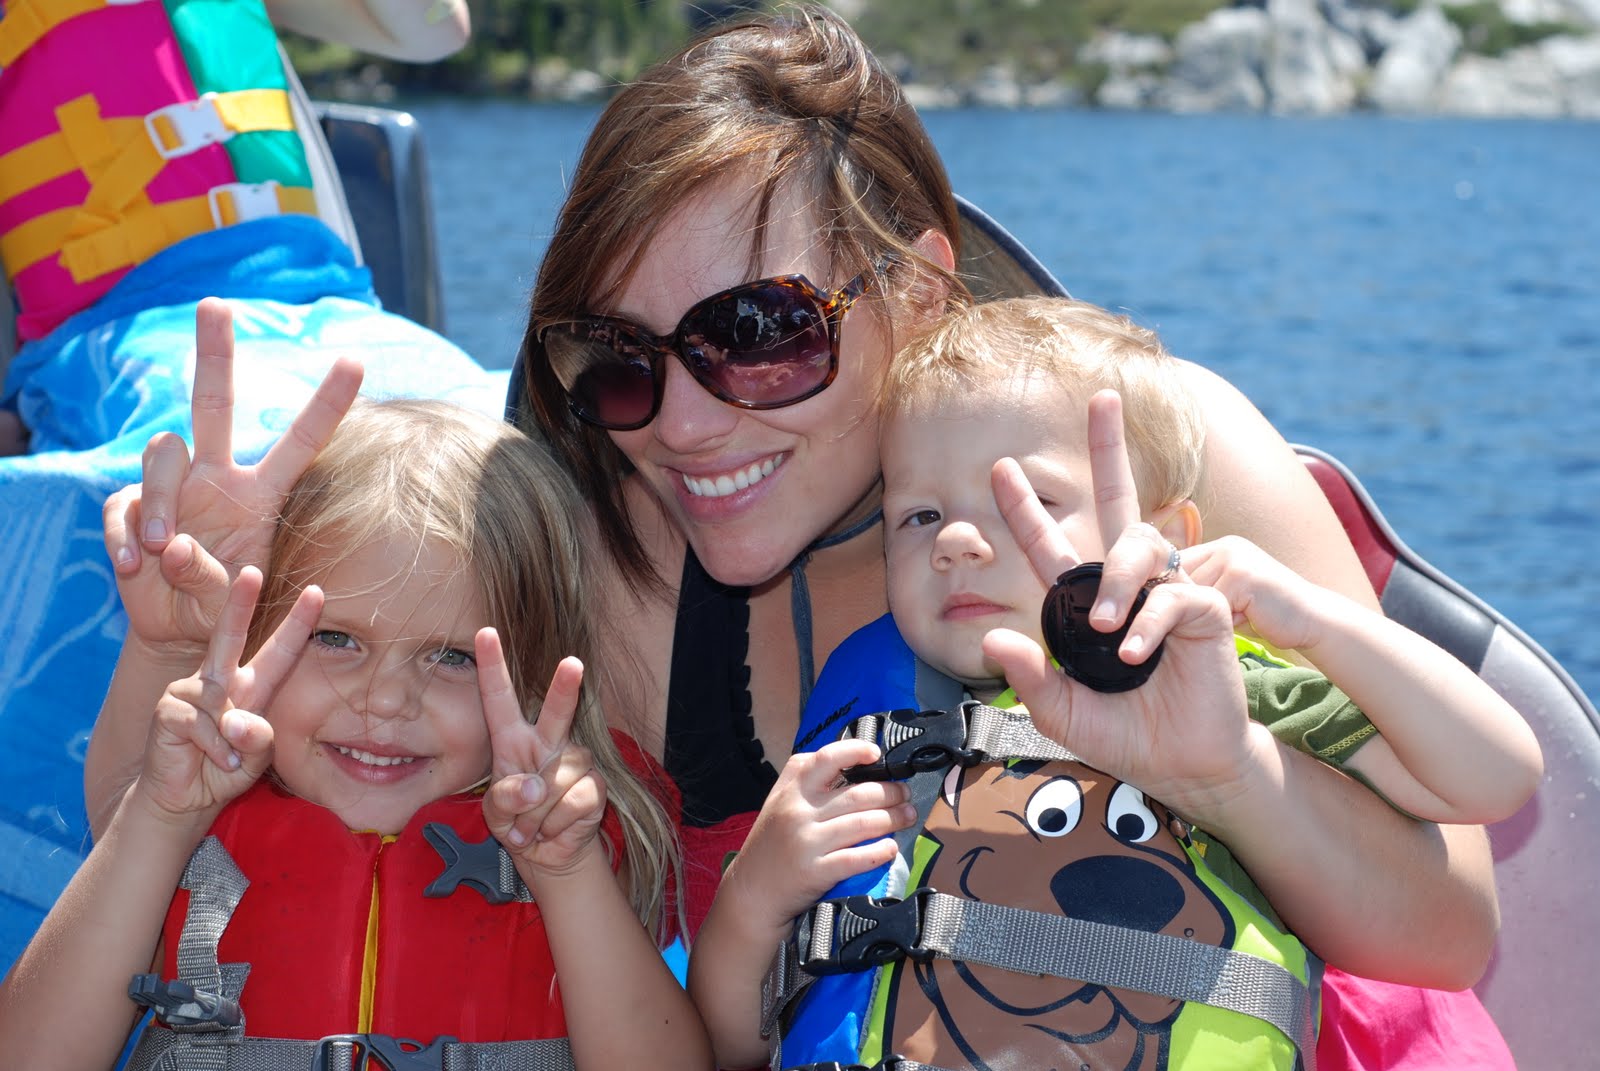
Love my little ones! Fishing in the Mountains...

Carrying my 86 year old blind amazing Nana...


My sweet Marmey and I...

Sunscreen anyone...


Celebrating my handsome hubby's Bday at Pismo...


The Lovely baby bump... it get's bigger every day... Tina's however goes away after she digests her food! No fair! 
Loves and See You Soon! 
Rachel 

Monday, July 4, 2011

Cake "Pops"

Happy 4th of July everyone! Let freedom ring! I hope you all have a great day filled with hot dogs, hamburgers, salad and watermelon with everything red, white and blue! 
I decided to make some cake "pops" because my little man has been asking for them every day. These are fun cause they pop in your mouth. Safer than fireworks I should say but with the same kind of effect. :) 
If you have never made cake pops before head on over to the lovely bakerella. I love love love her cute pops! 
The only thing I did different was instead of sprinkles, I used strawberry Pop Rocks! 


Enjoy and have a Happy 4th! Muah! 
Rachel 


Tuesday, June 21, 2011

Happy Father's Day!

So I thought I'd share these fun cookies with you! I made them for Fathers day. Since our Church always trys to do something nice for the Holidays, I was able to make a heap of them for our Daddio's! So I hope you enjoy. They were a hit! Muah! 
Rachel


All Wrapped up! 


Yay for the #1 Dad's in our lives! 

Tuesday, June 7, 2011

Toy Themed Organization Bags


When I saw this:


I knew our whole toy storing situation desperately needed to be dealt with. Our one basket just wasn't cuttin it anymore! At first I went venturing out looking for some cute storage bins, baskets or shelves. NOTHING!!! It was either too expensive for what I desired or not what I needed. 
So I decided to make "Toy Themed Bags." We have a whole heap of Toy Story toys, Pirate toys, Cars toys, Animal toys, Train toys and so on. You get the picture. So I made some bags to go along with the toy specified. Example: Pirates go in the Pirate bag. Toy Story goes in the Toy story bag and so on! The boys LOVE this idea and it's SUPER easy for them to put their toys away! Works for us! Soooooo, come see how we did it and then make some yourself! It takes about an hour (or more if your a new sewer) to make. :)


Materials:
About a yard 1/2 of material (I used snuggle flannel cause it was on sale....super sturdy too)
Thread to match
Rotary Cutter
Cutting mat
Ruler
Rope for drawstring (Wal-Mart or JoAnns)
Sewing Machine
Iron and Ironing board


Step 1: Measure and Cut
First you are going to measure and cut your material. I folded my material  in half wrong sides together to see how big I wanted it... think of it like folding a piece of paper in half. (I measured about 22in. or more cause I wanted them big)  You decide how big you want yours to be and then add about 4 1/2 inches to the top for the flap. (see later how we put in drawstrings)


Step 2: Whip It... Whip it good!
You want to whip stitch (the zig zag stitch) all around the edges of your material to avoid fraying. It just makes it look nicer too. :) 


Step 3: Fold, Iron and Sew Edges
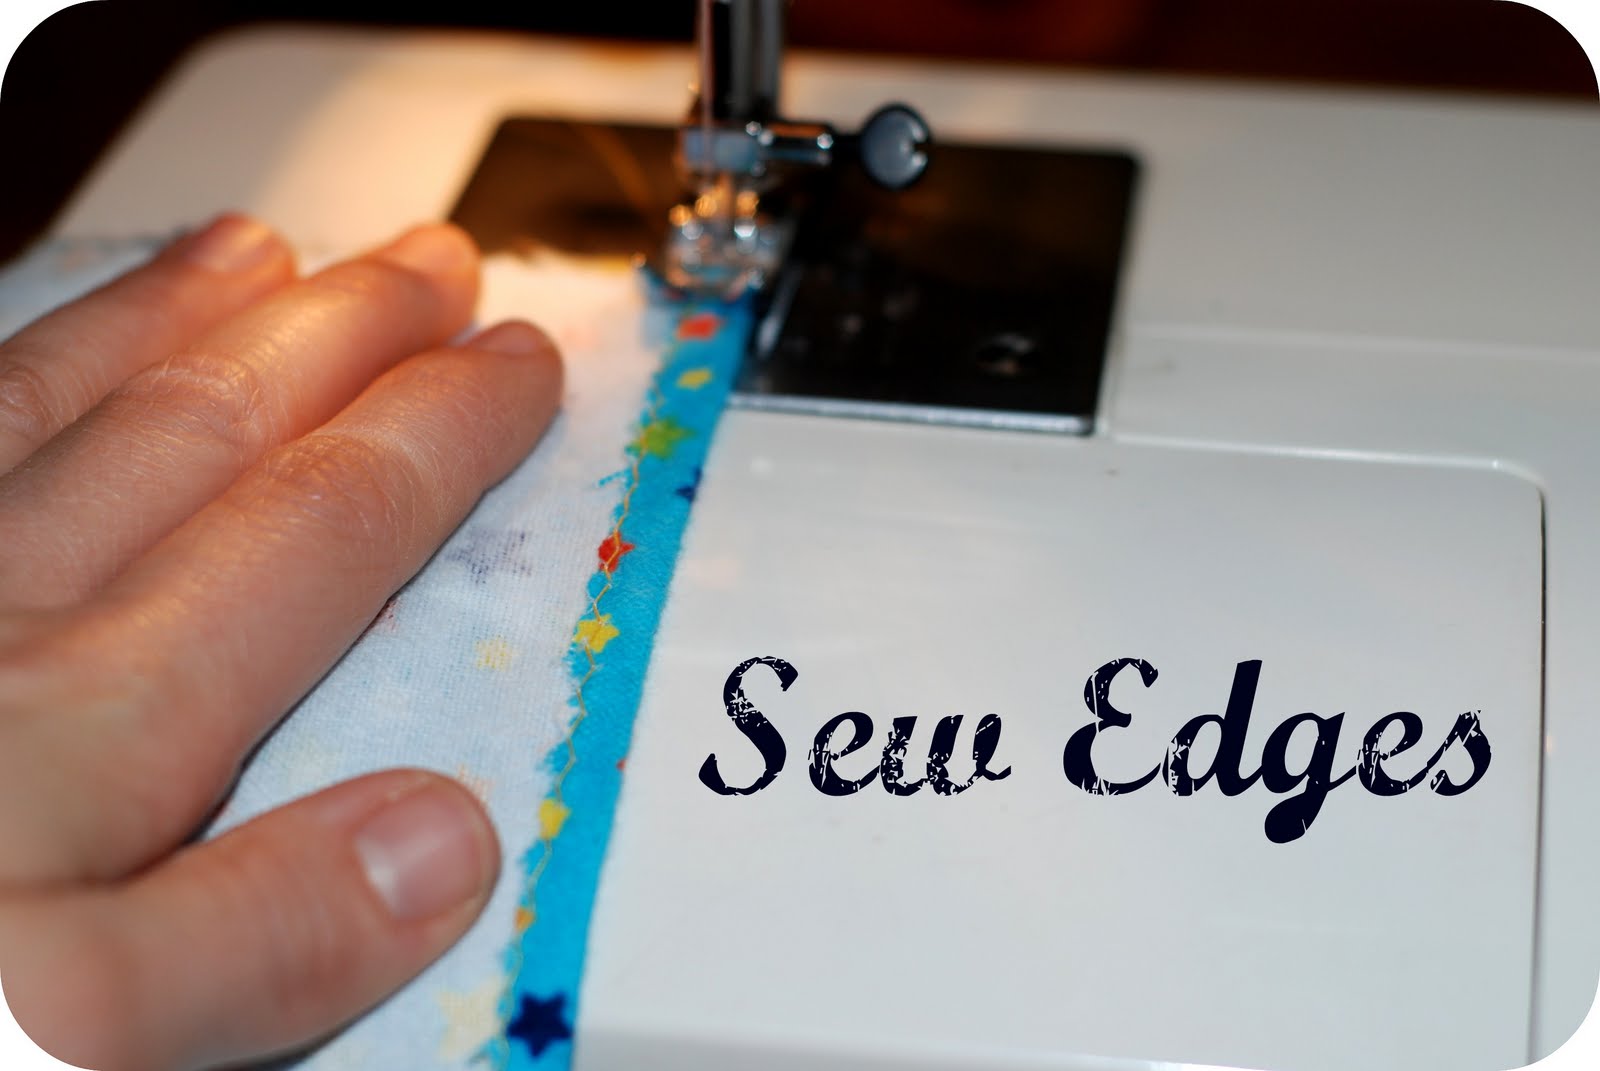
Fold down your edges and iron down. You can pin if you want, but I just glided it on through my sewing machine. Sew along the edge carefully until all edges are done. 


Step 4: Pin and Make a Flap
After edges are complete, fold fabric in half right sides together. Sorry my picture is so bad, it was late. Anywho, pin the edges of your fabric together as seen in my "great" picture! ;) (Follow the arrows)
At the top of your bag you are going to want to leave about 4 inches unpinned in order to make a flap for your drawstring to go through. YOU WILL NOT BE SEWING the 4 inches at the top yet... so hold on to your horses! ;) 

After pinning together, start sewing your sides and bottom. See picture for where to start and stop. Remember you need at least 3 and 1/2 to 4 inches un-sewn at the top. Start and stop at the lightening bolts. :) 


Step 5: Drawstring Time
After sewing, grab your drawstring and place it at the top of your bag like so. Measure how much you want to use. I layed it on the top and left about 3 inches hanging out of the sides to tie at the end. 

Flip extra fabric or flap over your drawstring and pin. You can either keep your rope there and continue pinning of remove it and stuff it through later... it's up to you. 
Then pin it down. Make sure to ONLY pin the flap part together, NOT ALL of your fabric. You want to still make it a bag remember, so it needs an opening. :) (sorry I don't have a picture of it)

Step 6: Sewing that Flappy thing
Sew your edges together to make it easier to sew the flaps. Start at arrows and then stop at the cute little lightening bolt. :) (about 2 inches)

After you sew both sides, open up your bag and slide it onto your sewing machine to sew the flap together. Sew it all the way around and viola! Your done with the sewing part.

Then take your cute little snake of a drawstring and start pushing it through. I call it the chinese finger trap...

After the trap, flip your bag right side out. Tie knots in the end to avoid fraying. (You can even burn the tips of you want to go the extra mile)   
Now my littles insisted on having a "Buzz Lightyear" bag. So I decided to apply an applique to it when it was finished. I simply sewed around the edges of buzz and through his middle to ensure safe holding. :) Love it! 
So there you have it! I made a few and now have a little bit of order to my mayhem! I hope you have fun making yours! Happy Sewing! Muah! 

Wednesday, April 27, 2011

Visit's to the Toilet...


Well my lovely friends, first I want to apologize for being M.I.A. for so long. I have a good excuse if you will. You see, it all started when I began feeling overly tired and exhausted a few weeks back. I would complain to my poor husband that my boobs hurt, I was bloated (Im sure he loved hearing that!) and that I caught the flu which glued me to the toilet for a day. 
Time passed and yet I was still in denial. 
More naps.
More tiredness.
More nauseated spouts.
I was late. You know. Late. Like. 2 weeks late! 
So still being in denial, I sat on the toilet one morning, did my business and bam! The little pink stick said I was preggo! I stared at it and literally said, "nuh uh." (I think because I haven't had a great record with pregnancy tests actually working for me. I have previously taken 4 week after week that said negative results. We had to get a blood test which said I WAS pregnant. Crazy!)
But this one actually worked!
My husband wasn't home yet.
I couldn't wipe that silly smile off my face. 
He walked in and I had him go look at it. 
We couldn't be more excited!
So here's to baby number 3! We already have 2 beautiful boys and life is grand! I wonder if we'll get another bruiser or a girl to dress up in pink? Hmmm, either way we are excited! So please forgive me for not posting lately. I have a good excuse don't you think? 
Loves! 
Rachel 

Tuesday, April 19, 2011

Sugar Cookies


So I have been in cookie decorating mode! I love decorating....just sayin...
Here's some that I did for my friends baby shower! She has a beautiful baby girl and I thought Id do some with a G for girl on them. If you need the icing recipe go here. I made it a little thicker to do the piping. :)

Step 1: Outline
I used squeeze bottles for decorating these! So easy and fun! (I want to see if squeeze bottles work on cakes too...Ill let you know once I try) Anywho, Outline your cookie in white frosting in the shape of a flower. Once that dries fill in the middle with pink. :) 
Step 2: Pipe and Sprinkle
Once your pink and white flower dry, your ready to pipe a pretty g on there. Pipe a g (I practiced on parchment paper first to get the hang)  Then pour the sprinkles ontop of the wet g to stick. Gently shake off excess sprinkles. Repeat. I got the cute g idea from Bake at 350! Super cute ideas!
For the plain white pearl cookies I just put white frosting on top of the cookie and then immediately poured the sprinkles and pearls on top. Simple and cute! 

They were fun! Sorry the pictures are so bad, it was late.Enjoy! 
Rachel 


Wednesday, April 13, 2011

Road Trip!

So I don't know about you but this weather has been making me itch for some outdoor activity. We have had sunny ski's here. Im loving every minute of it! That being said, our family decided to take a little road trip. Now let me tell you that 4 hours in the car with 2 rambunctious little boys is not so much fun, so we tried to split up the time by making some stops on the way. 
We stopped at the Jelly Belly factory first. It was neat to see the candy making in action. The boys loved that! They especially loved eating the free jelly belly beans at the end of our tour.
Then we headed to our camp ground in the Redwoods. Big Basin Redwoods to be exact. One word! BEAUTIFUL! If you have never been to this hidden treasure, I reccomend going this Summer cause it really is breathtaking. The only downer when we went was that it rained on us. Lame! We were all huddled together in our sleeping bags and dreaded getting out of them! I don't think we have been that cold in a while. Other than the cold it was great! Im sure if you go in the actual Summer time you'll be fine. 
After a night of camping, we headed to the beach. We had a blast eating lunch and playing frisbee on the beach. 
All in all it was pretty fun! Hectic but what trip isn't! We did a lot in just 2 days and have some great memories to add to our books! 
So what kind of Road Trips do you have planned? 


Oh and I had fun editing these pictures using picnik. A wonderful idea I stole from the amazing Little Miss Momma! Love her!  Anywho, have a good one! 
 Loves,
Rachel 

LinkWithin

Related Posts with Thumbnails